Your site or blog may need to be edited by more than one person when using WordPress. The WordPress system allows multiple users and different roles for each.
It’s important to understand WordPress’ user types before creating a user. WordPress users can be categorized in five ways:
Administrator — This user has full access to all of WordPress’s administration features.
Editor — This user can manage and publish posts, including those made by others.
Author — Users of this account can manage and publish their own posts, but cannot manage or publish other users’ posts.
Contributor — Posts by this user can be written and managed, but not published. Higher-level users must be able to publish them.
Subscriber — Besides viewing the site and managing their own profile, this user can’t do anything else.
The following steps will show you how to create a user once you know the types of users.
- Enter your WordPress dashboard.
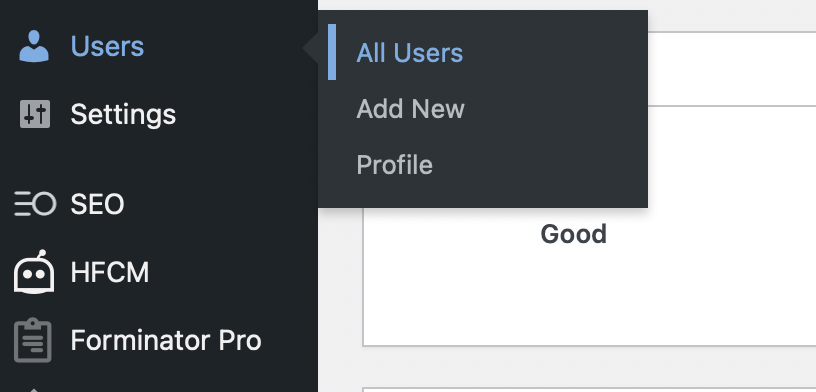
- Choose Users from the left-side navigation menu.
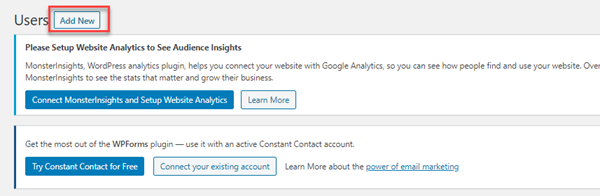
- There will be a list of all existing users on this screen.
- Create a new one by clicking Add New.
- Using this page, you can set up a username, email, and password for your new user.
- By checking this box, the new user will receive their password by email.
- You can assign a specific role by choosing from the drop-down menu.
- Once you have finished, click on Add New User.
From now on, you can find created user on the Users page. The user can also be edited or removed here if necessary.