Why Should You Use Maintenance Mode?
In WordPress, maintenance mode is an automatic setting that appears as soon as a software update is applied to a website.
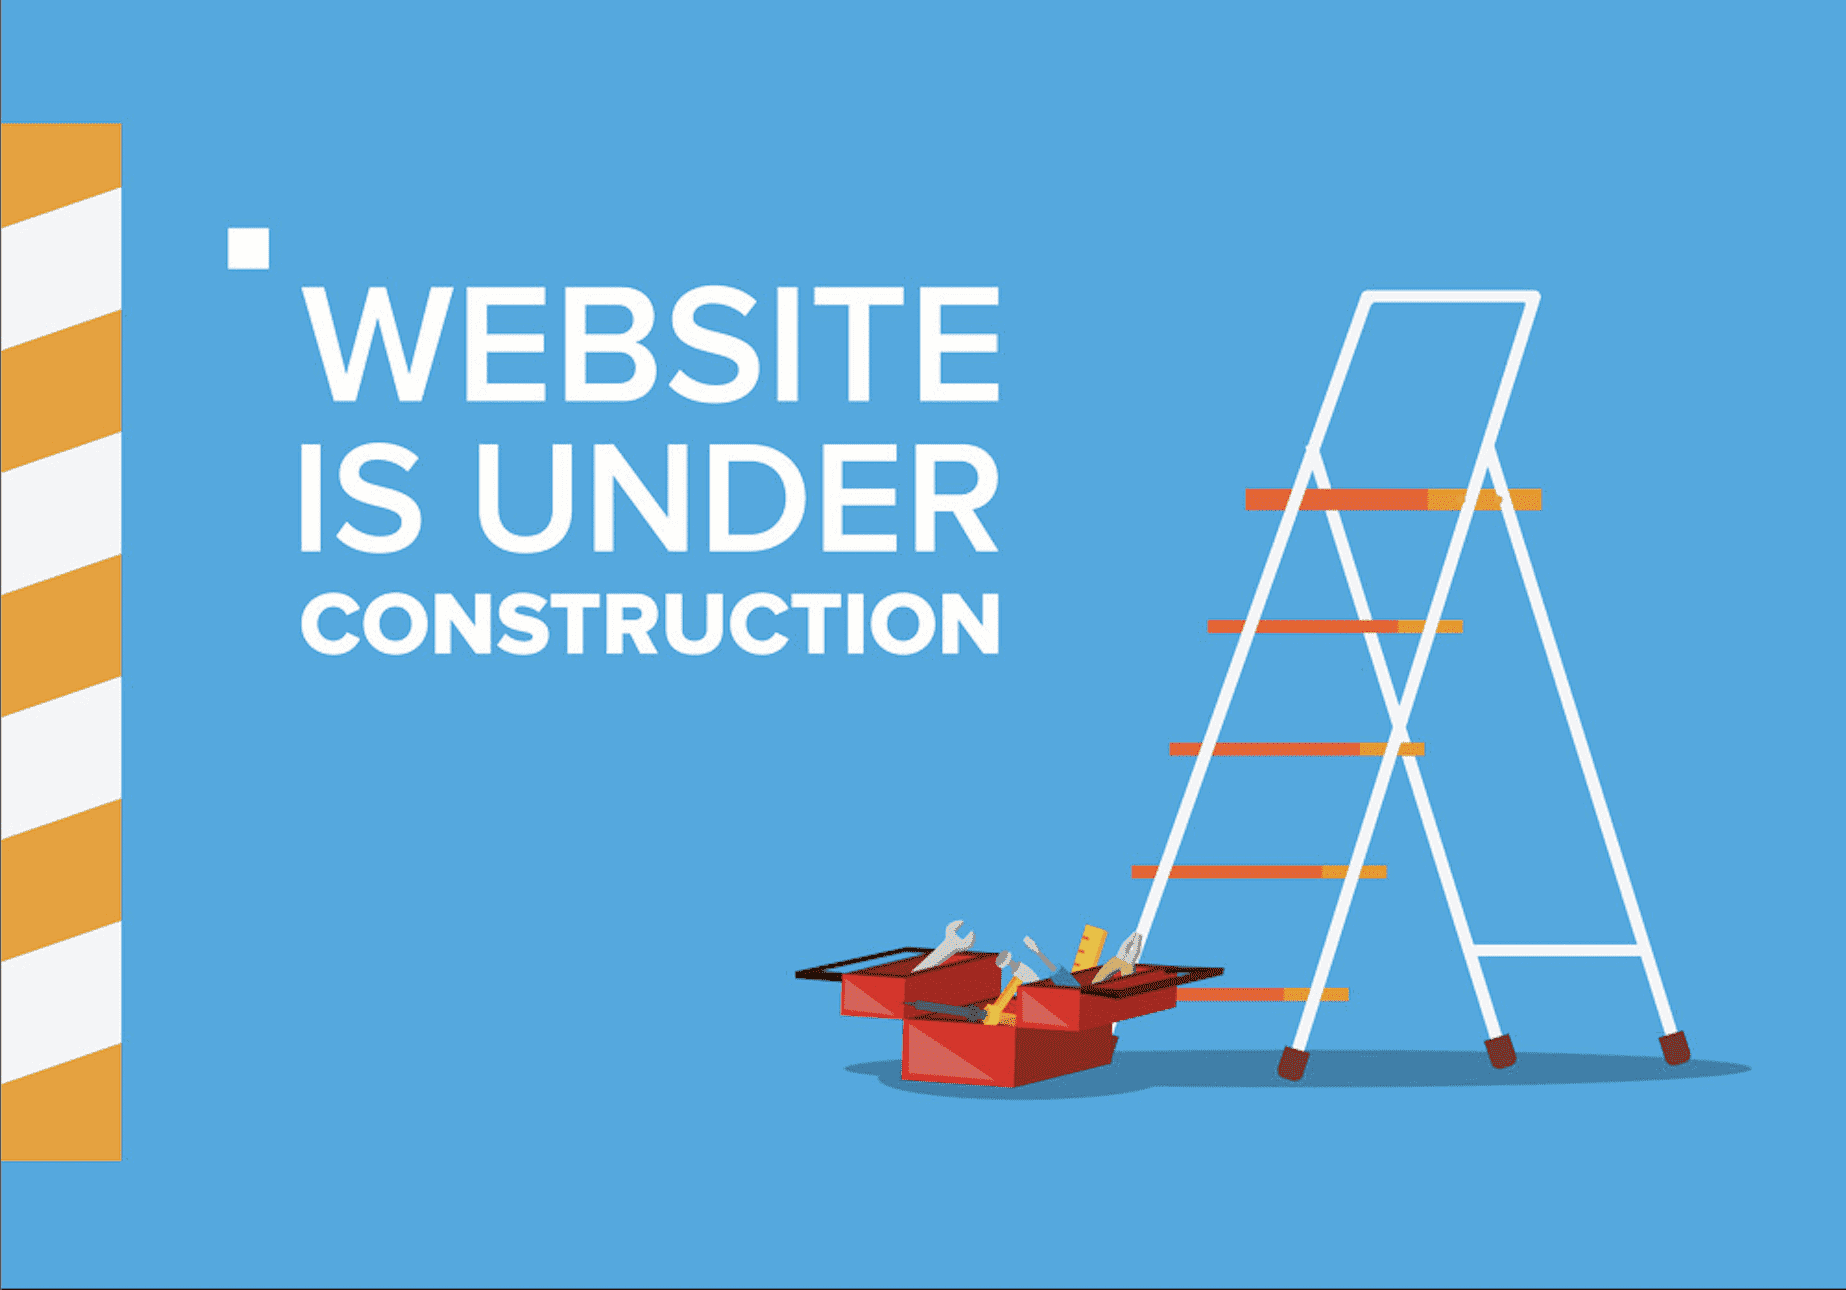
In order to prevent visitors from getting confused by an error message while an update is in progress, WordPress temporarily disables the website and displays a maintenance mode message:

Most of the time, you won’t need WordPress maintenance mode when updating a website (or even when building it for the first time). Making minor changes to your site, such as posting a new blog, updating your contact information, or modifying an older link, won’t affect your visitors.
It’s best to take your website offline when you’re working on it for a longer period of time. You might consider scheduling your updates at a time when your visitors are asleep, but that doesn’t guarantee success.
Therefore, if you need to make major changes to your website, or you know the appearance will turn visitors away, activate the maintenance mode in WordPress.
How to activate maintenance mode with a WordPress plugin?
Step 1: Find a WordPress maintenance plugin
You can add new plugins by clicking “Add New” in the Plugin menu.
After that, type “maintenance” in the top right-hand corner:
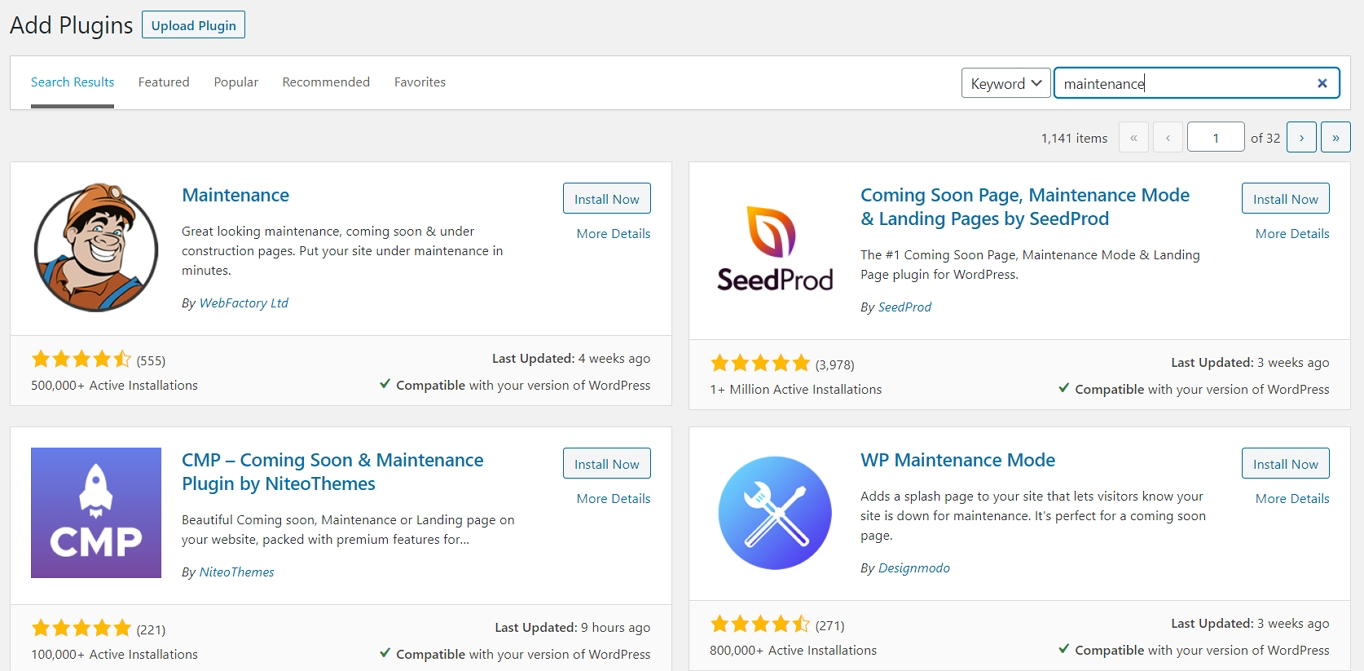
You’ll see thousands of options. Choose the one with the highest score and biggest quantity of reviews.
A free WordPress plugin will always have a tradeoff when you want to build a maintenance page. For example, when using the Under Construction plugin, you will not be able to add your logo or change the colors, typography, etc. However, you will have a maintenance page ready within minutes.
Step 2: Install a WordPress maintenance plugin
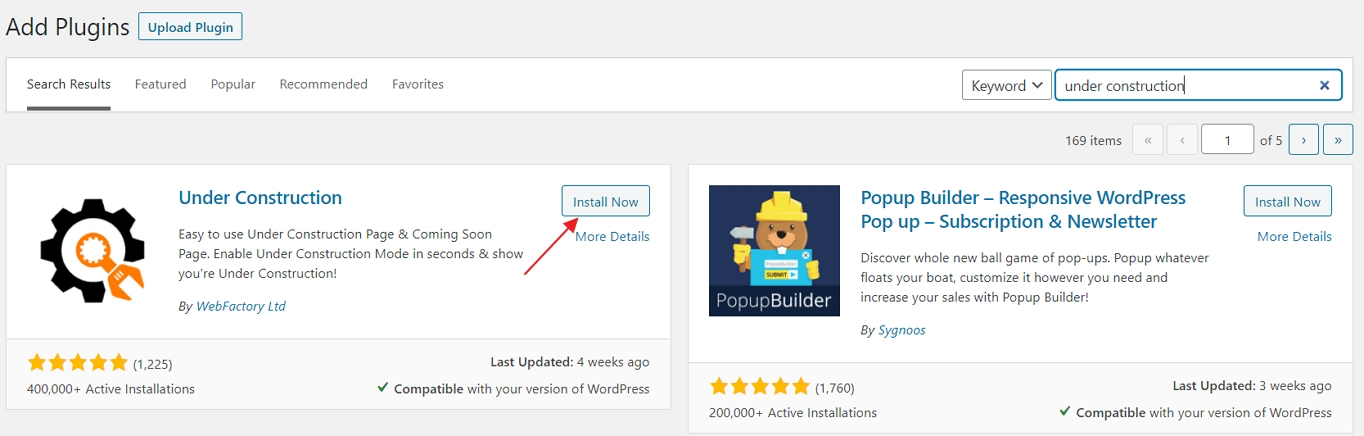
You need to install your chosen plugin once you have selected it. We will use the Under Construction plugin as an example.
Click the “Install Now” button:
After installation, the button turns blue and says “Activate”. Once again click the button.
When you click on the Settings button, the plugin’s settings page should open automatically. Alternatively, click “Settings” beneath the plugin in your plugins list:

Step 3: Create the Maintenance Mode page
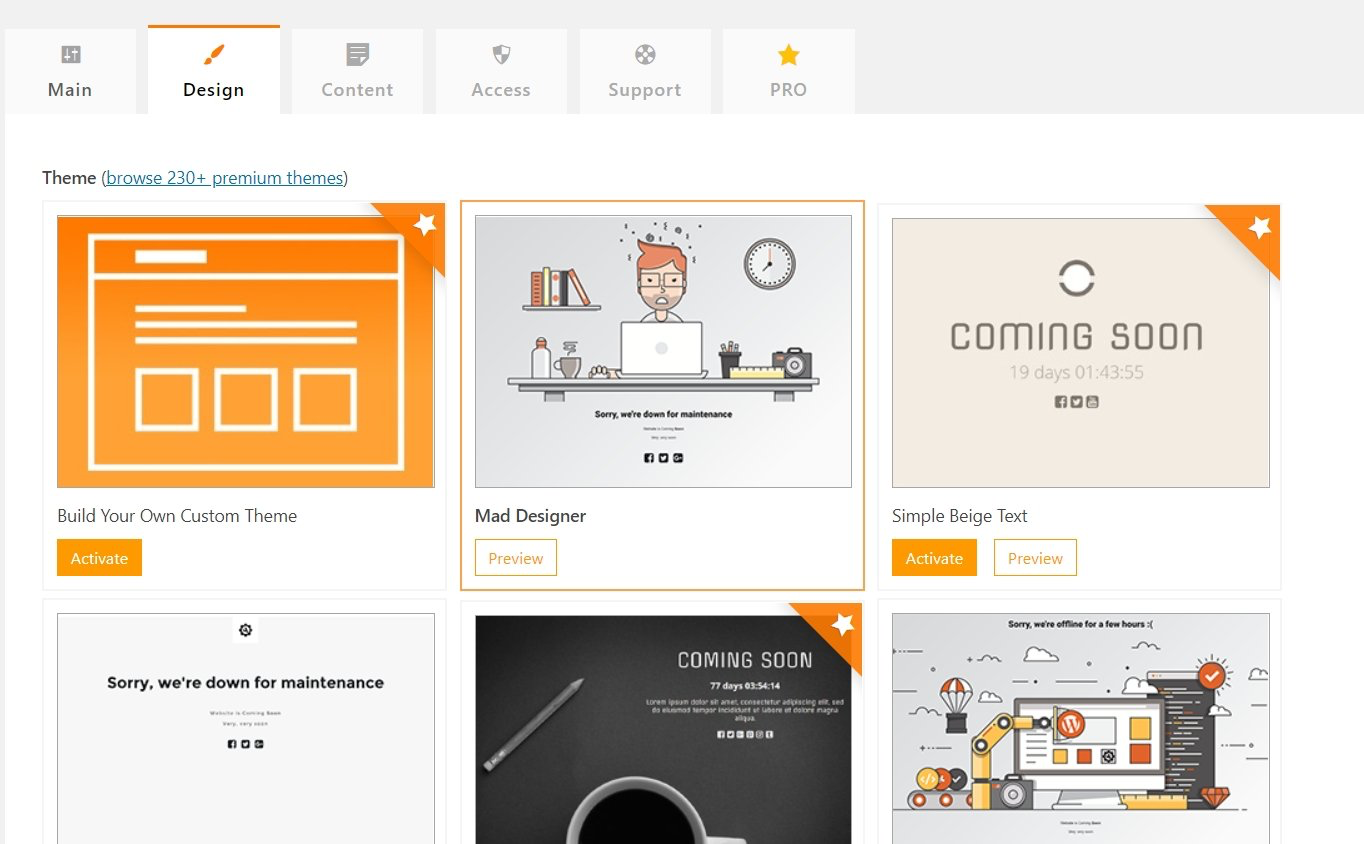
Under Construction, however, offers you some free basic templates for your use.
Activate the one you like when you find it.
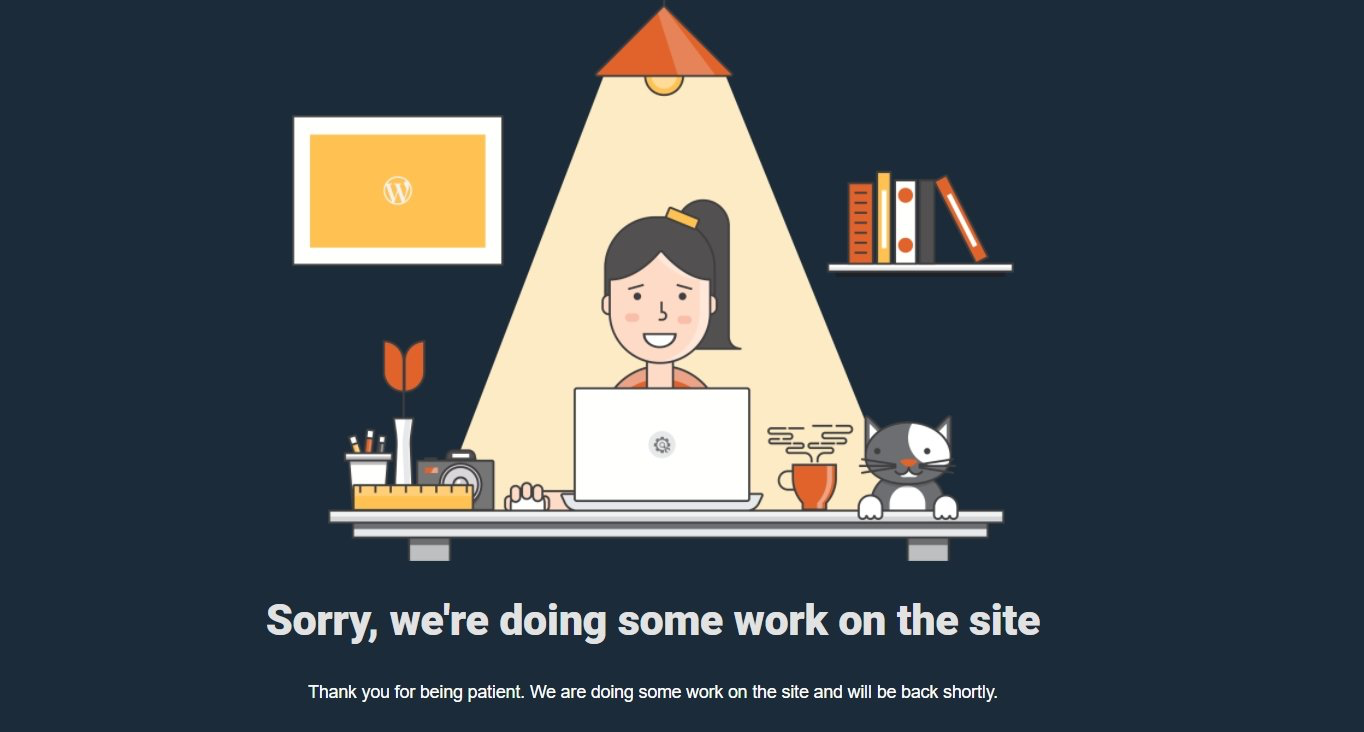
Step 4: Add content to the Page
You’re going to start out with a pretty simple maintenance mode page. Like this:
Although your plugin should allow you to fully control all content on the page, it should also accommodate the following:
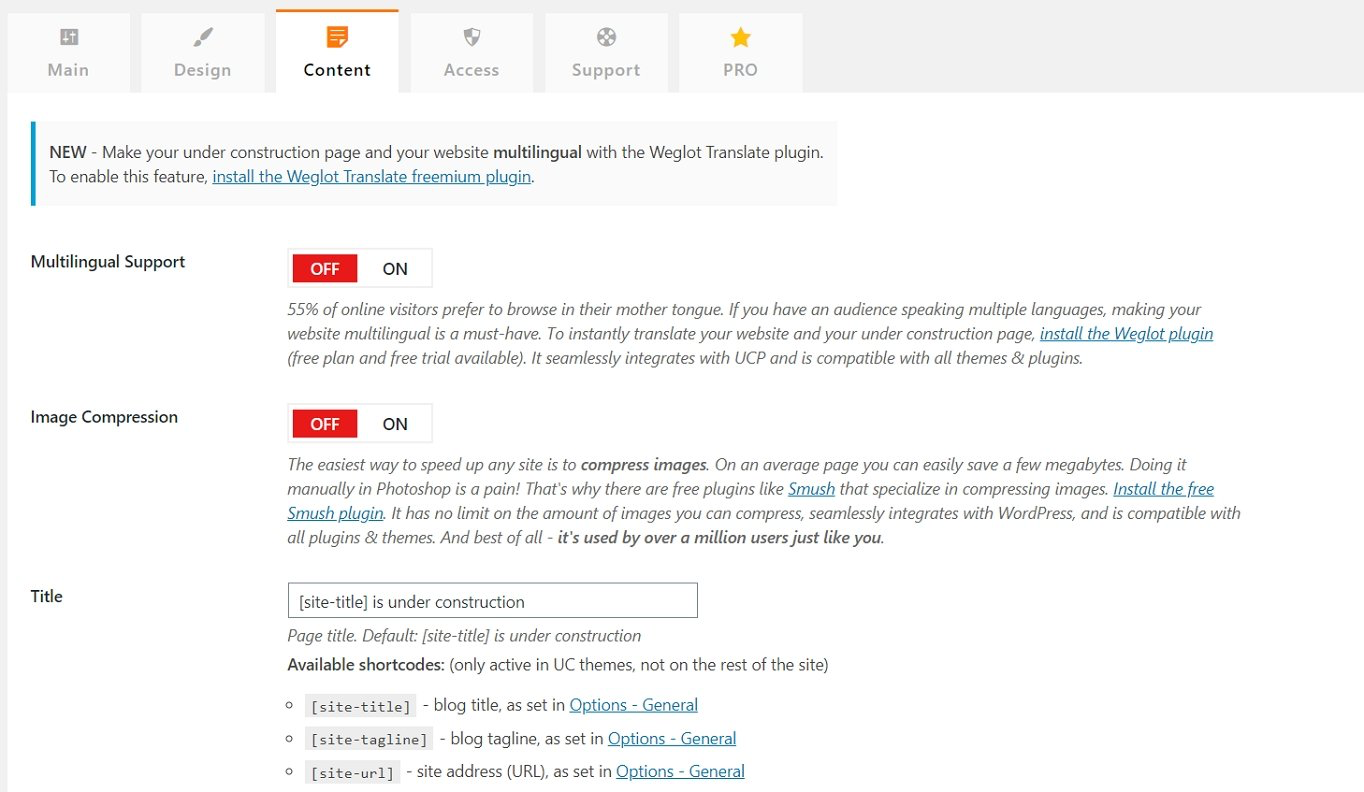
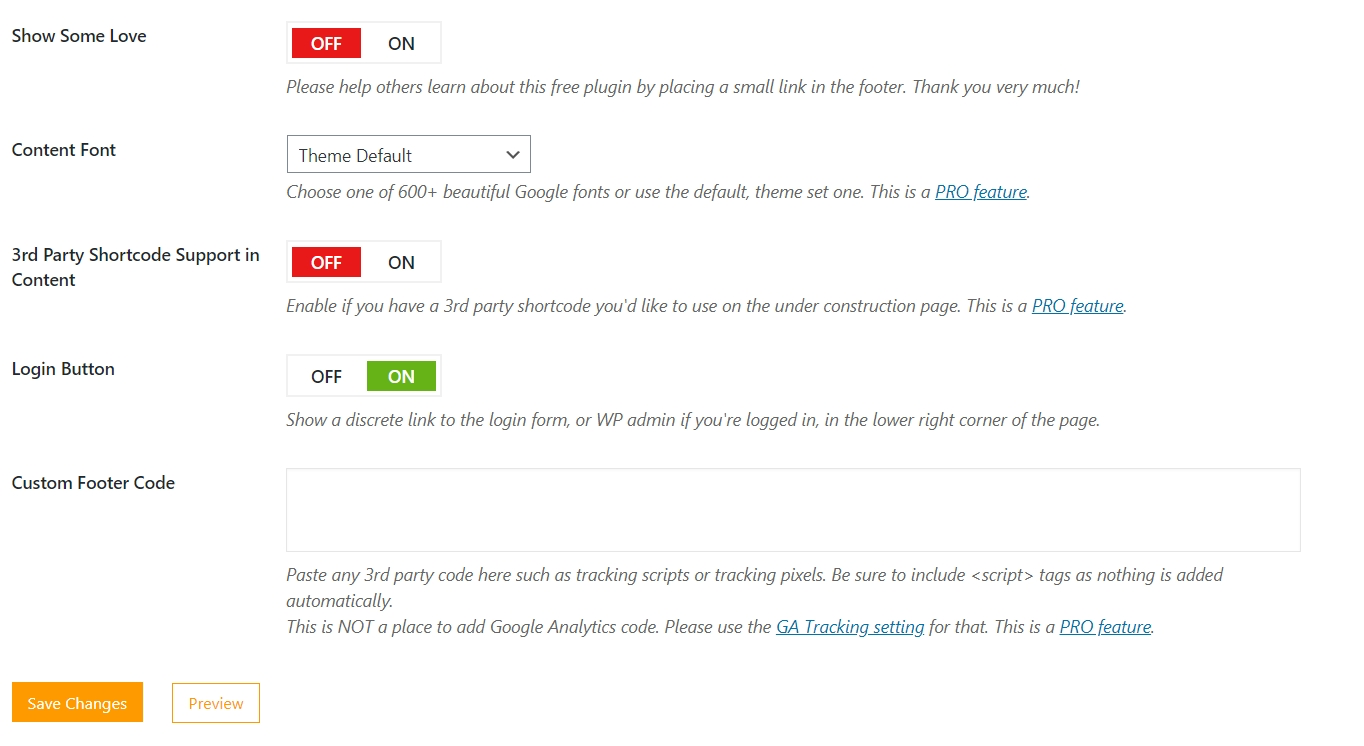
Here are the elements of content you should customize: Title, Description, Headline, Content (Body of the Page), Optin boxes and Popups, Content font, Login button, Social & Contact Icons.
Step 5: Preview the changes you’ve made
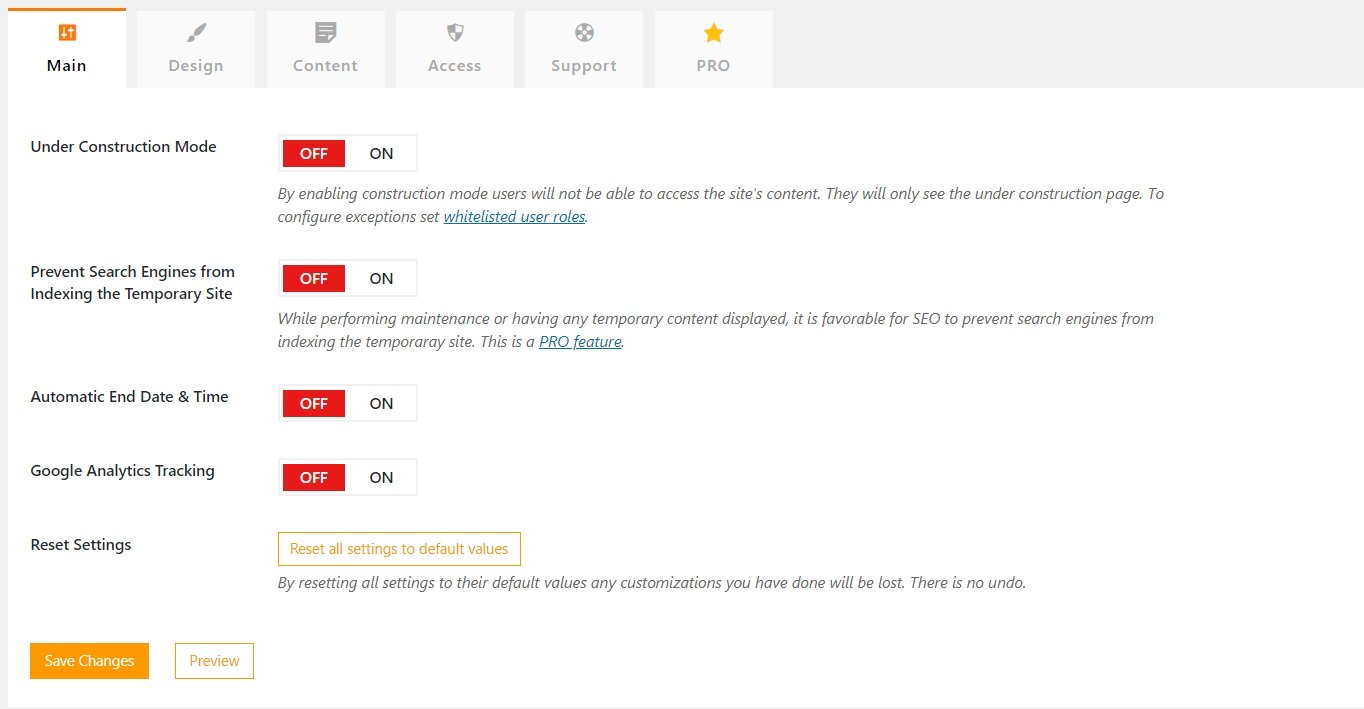
Once you have completed designing and writing the content for your page, preview it. The “Preview” button can be found at the bottom of the Main, Design, Content, and Access pages:
Step 6: Turn on Maintenance Mode
You should activate maintenance mode when you’re satisfied with the system you have.
The maintenance mode plugin’s Main tab can be found there. Put the “Under Construction Mode” toggle in the “On” position.
Plugins can be turned off by toggling the activation switch to the “Off” position.