
Taxes can easily be set up in your store using WordPress. There are many different options and settings available to you, and you may feel overwhelmed by them. You will learn how to set up taxes in WooCommerce in this tutorial.
Step 1: Enable WooCommerce taxes
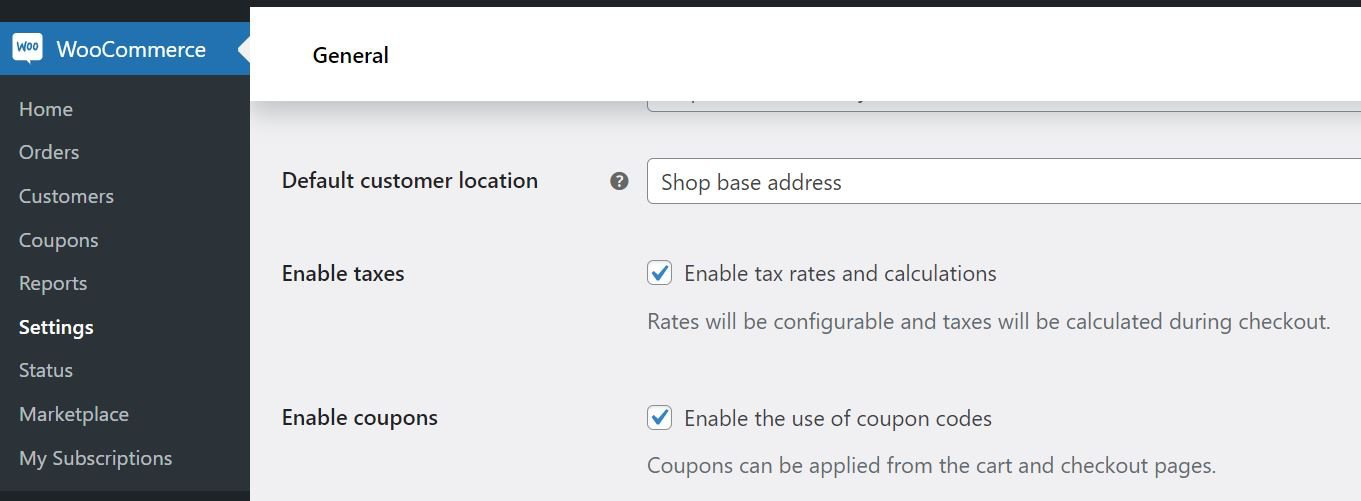
The first step is to enable taxes in your store. Head to WooCommerce > Settings in your WordPress dashboard. Check the Enable taxes option on the General tab:
Step 2: Configure your tax settings
In the WooCommerce settings, go to the newly created Tax tab to start configuring your tax options:
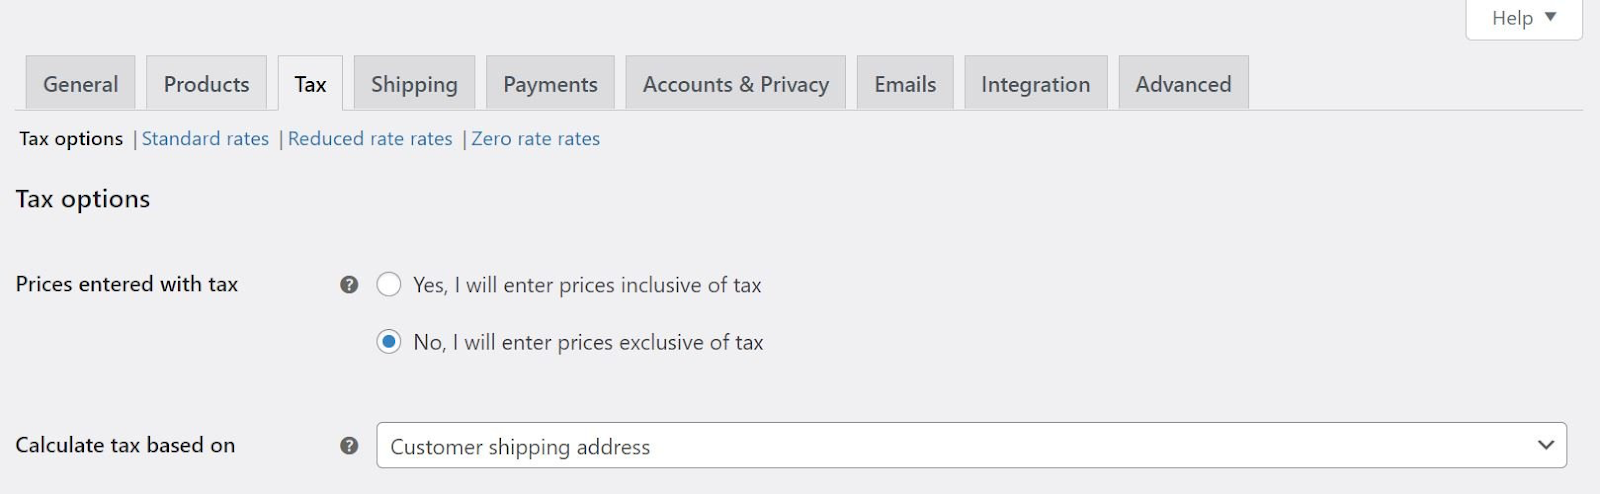
Your first decision should be whether you want tax included or excluded from product prices. You can choose to calculate and add the taxes to each user’s bill when they check out if you choose the latter option.
The next step involves choosing the location on which tax calculations will be based. You can choose between Customer shipping address, Customer base address, or Shop base address. Tax rates are based on the location of your store in the third option.
A shipping class must also be set. Here are some options you can choose from:
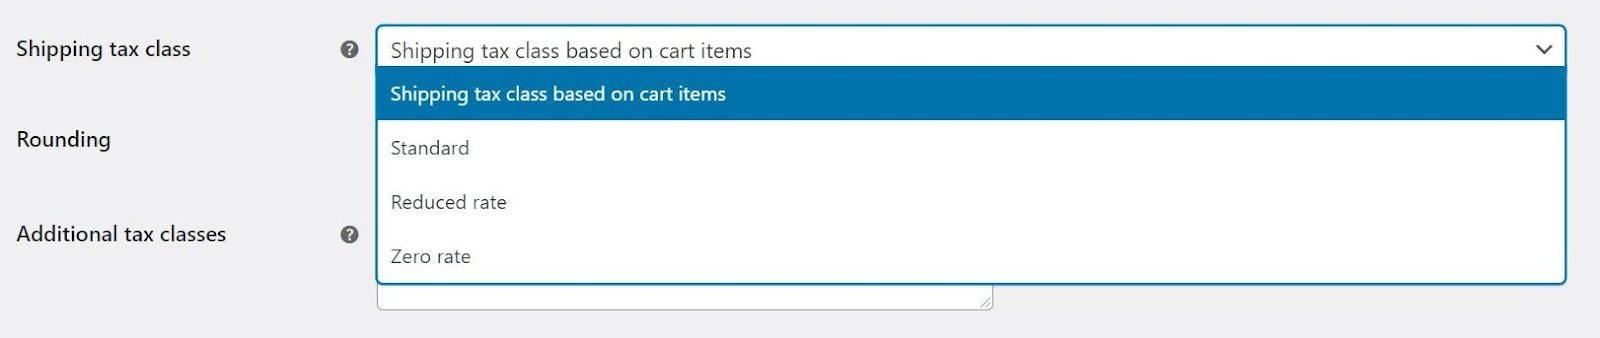
Shipment tax classes are automatically determined by items in the user’s cart. The shipping tax will be calculated at a similar rate if a user buys an item that is subject to a different tax rate. Your tax jurisdiction may not allow this, so you can choose another tax class.
As an alternative to rounding per line, you can also round tax at the subtotal level:
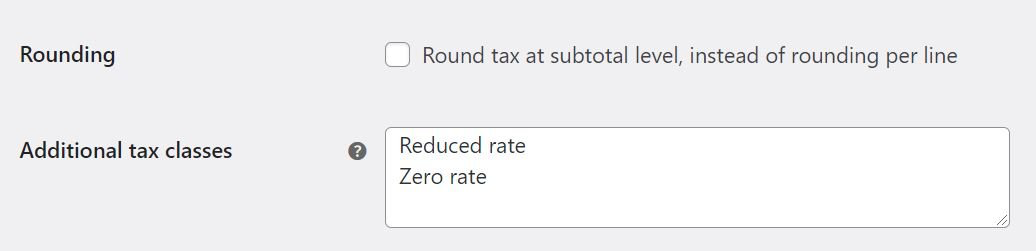
Additionally, you can create tax classes in WordPress. You have two other options in addition to the Standard Rate: Reduced Rate and Zero Rate. Just enter another class name (one per line) in the field. The next step will be to show you how to fully set up additional tax rates in WooCommerce.
Your store will display product prices inclusive or exclusive of tax on the front end. During checkout and in the cart, you can also configure the same settings:
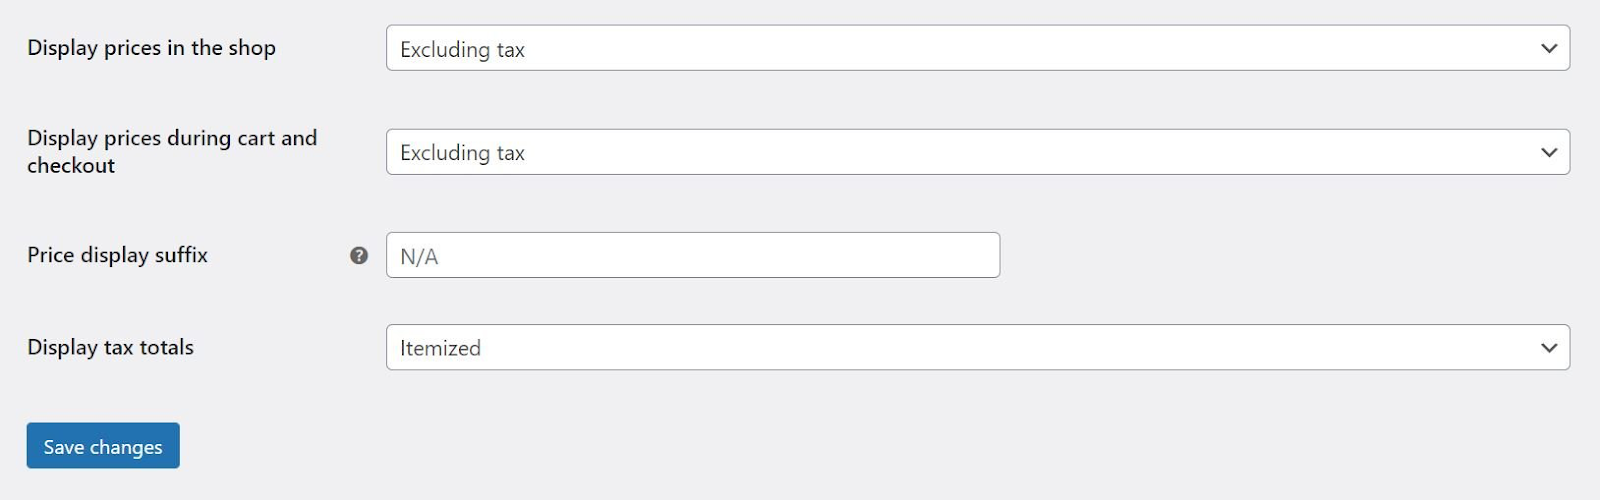
You can also customize the text that appears alongside your product prices. By doing so, users can understand if the price includes or excludes taxes. To accomplish this, WordPress offers two placeholders: {price_including_tax} and {price_excluding_tax}.
Lastly, you will see the option to Display tax totals. If you choose this option, multiple taxes will appear together during checkout, or will be listed separately.
Then you’re done! Now you know everything about WooCommerce tax options. At the bottom of the page, click Save changes when you are done editing.
Step 3: Set up tax rates
There are three types of tax classes in WooCommerce: standard rate, reduced rate, and zero rate. Additionally, we showed you how to set up a tax class. Here are some tips on how to set up tax rates for your store.
To configure a tax class, click on it under the tax settings. Let’s work with Standard rates for this tutorial:

Click on the Insert row option to add a new tax rate. After entering the appropriate information, you can submit the form. To understand the tax rates, let’s examine the attributes:
- Country code. Indicate the country code as a two-digit number. Check with the ISO 3166-1 alpha-2 codes to find out each country’s official code. You can leave this field blank if you don’t wish to specify a particular country.
- State Code. Type in a two-digit state code (where applicable) for the rate. You won’t need to enter a code if you want the rate to apply to all states.
- ZIP/Postal code. Enter your postcode to calculate the rate. Each code can be separated with a semicolon (;), and you can enter wildcards and ranges (for example, you can enter “50” to apply the rate to all zip codes that begin with those two digits).
- The city. Please specify the city (or cities) where this tax rate applies.
- Rate. Using four decimal places, enter the tax rate. If your tax rate is 30%, you would enter “30.000”.
- Tax Name. Specify your tax rate with a name, such as “Sales Tax” or “VAT”.
- Priority. Pick the tax rate based on its priority. Each matching rate will be assigned to a single priority. You’ll need to specify a different priority for each rate if you want to specify more than one tax rate for the same area.
- Compound. You can select this box if you want the rate on top of all other taxes.
- Shipping. You must select this option if the shipping charge is included in the rate.
After making your changes, click Save. The following example shows how to set up taxes in a WooCommerce store:

By clicking Import CSV or Export CSV, you can also import or export tax rates. Click on Remove selected row(s) if you want to delete a tax rate.
In addition to setting the reduced rate and zero rate tax rates, it is also possible to set up tax rates for other tax classes. The only thing you need to do is to select the appropriate tax class from the top of the page.
Step 4: View Your Tax Reports
WooCommerce’s tax reporting feature is available once your taxes are set up. To access the tax reporting features in WooCommerce, click Reports > Taxes:

By selecting Taxes by date, you can view your tax reports based on the timeline you select. By selecting Taxes by code, you can access individual information about your store’s tax rates.
Conclusion
It can be a real pain to set up taxes for an online store. In just a few clicks, WooCommerce allows you to configure your tax rates and calculations.
The following steps will show you how to set up WooCommerce taxes:
- Enable tax rates and calculation from your WoCommerce settings.
- Configure a few basic settings, like shipping tax classes and tax rounding.
- Set up different tax rates for different countries and states.
- View your tax reports.